Bedrock Cairn 3D PRO II Adventure Sandals Review

I have been an avid Chaco wearer for years, my first pair has a Made in Colorado tag. Over the last few years I have been exploring minimalist sandals and for about a year now I have been wearing the Cairn 3D PRO II Adventure Sandals. They are not a cheap sandal $140 at the time of writing this, but you do get what you pay for.
About Bedrock Sandals
Bedrock started in 2011 by Nick and Dan as they were working on a river restoration project in Northern California. They were looking for a lightweight, nimble sandal option. In 2016 they launched their flagship design, the Cairn. Bedrock Sandals is now located out of Missoula Montana and are made in the USA.
How I use them

I have been wearing my Bedrock sandals in all weather conditions and seasons. In the colder months I team them up with a pair of Injinji socks.
They were my primary shoes on a 15 day trip across Europe. I use them as a wading shoe for summer fly fishing trips, kayaking trips and paddle boarding trips. They are my favorite shoes for photography/hiking trips.
Sizing
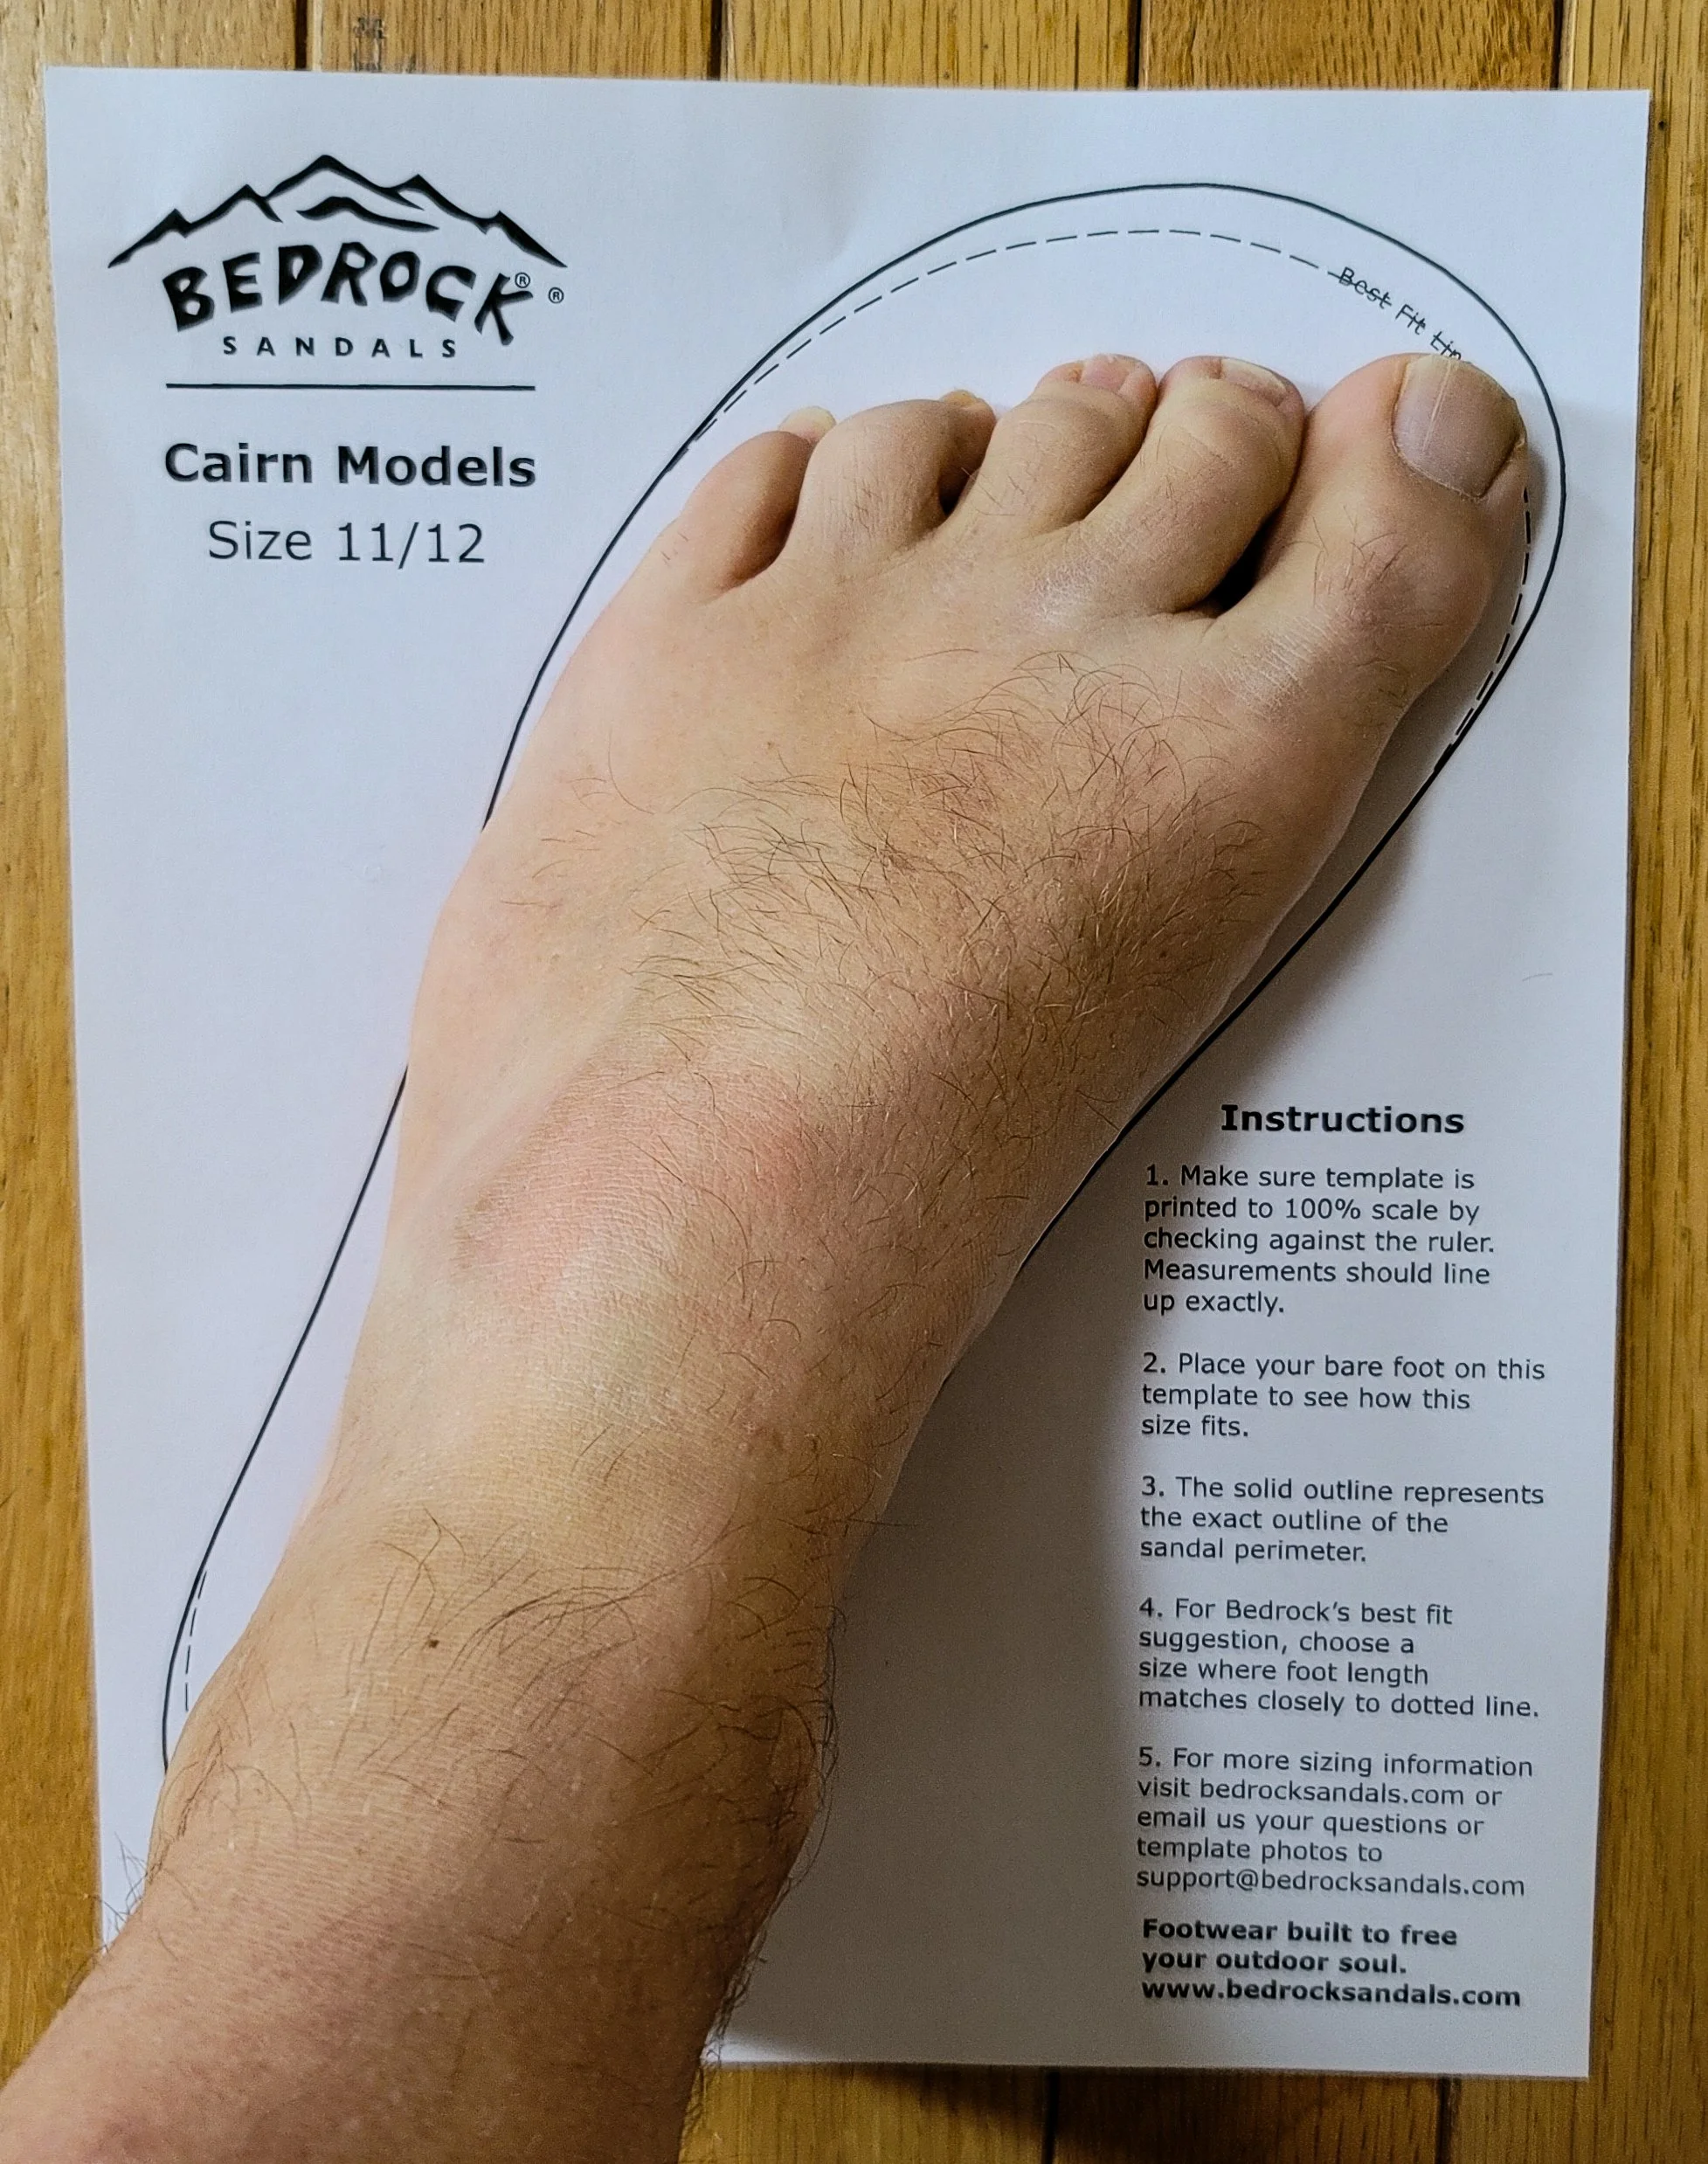
Bedrock has made it very easy to find your size. Download and print your size from their sizing chart to confirm the fit and if you are still not sure, you can send them a pic of your foot on the guide and they will give you some advice. If you do print the guide, I am a men's 10.5 and I found the mens 11 fits me perfectly with room for adjustment.
Fit/Look
The Cairn 3D PRO II Adventure Sandals have 3 adjustment points. Two of them use a metal hook and daisy chain system to give you a secure adjustment. Once you have then adjusted, I find I have no need to change these adjustments. I like that there are no velcro straps that I need to worry about in fast moving water.
They have a very distinctive look with the use of webbing straps and metal attachments give them a very utilitarian look. This look will not work for everyone. The Cairn 3D Pro is made with all vegan materials.
Traction

The Cairn 3D PRO II Adventure Sandals are made with exclusive REGOLITH Bedrock x Vibram® sole. The sole gives the Cairn 3D Pro II superior traction on both wet and dry surfaces. Hiking in New Jersey around waterfalls, I find myself on wet, rocky, slippery surfaces and I have not found myself feeling unstable.
Bedrock sandals are made to be resoled. At the time of writing this, the cost is $55. You can find out more here, Bedrock Sandals Resole Program
Comfort
The Cairn 3D PRO II Adventure Sandals have a sole that is thick enough to protect your foot but you can still feel the ground under foot. This is important when you are on rocky terrain. Once you get them fitted to your foot, I have not had any issues with rubbing or hot spots. The use of the round cord between your toes is a nice feature compared to other sandals that use a flat strap.
Final Steps
Bedrock Sandals are not cheap but you get what you pay for. If you are looking for a lightweight sandal I highly recommend them. They can take anything you can throw at them and if you team them up with a pair of Injinji socks you can extend their wearing season.
Let me know if you wear Bedrock sandals and your thoughts.
Removing Trail Graffiti

Over the past year, the number of people taking to the outdoors for enjoyment has increased. Along with the number of people heading out to our parks for enjoyment, the number of people going out for negative reasons has increased as well.
In January of 2019, the U.S. Government experienced a shutdown, and during this time our parks were heavily destroyed by people leaving behind trash and graffiti. The Washington Post has a great article about the effects in Joshua Tree National Park.
Graffiti is not only an issue in your larger, well-known national parks. It has also become an issue in our smaller, lesser-known National Parks and State Parks. I have been spending time exploring my local parks and it hurts me to see a waterfall covered in green moss and orange spray paint.
The New York-New Jersey Trail Conference (NYNJTC) published an article about how you can remove graffiti from rocks in your local parks.

I would recommend you take a look at the article but here are a few important points
Always document the location. Record the trail, where on the trail. If you have a GPS record the coordinates.
Take photos of the graffiti to document it. The Trail conference recommends you use the Avenza Map App. It is a free app.
Work quickly to remove the issue. It does not only effect the experience of hikers, other people might see it and be encouraged to do the same.
Always try to remove the graffiti first, before you try to cover it up.
Before you go to remove the graffiti, always check to make sure it is ok that you do so with the owner of the land, especially if you are in a state or federal park.
If you would like to help remove graffiti or if you have seen some on your favorite trail and would like to remove it, I put together a list of the tools and safety gear you will need to get started Click Here. If you do come across graffiti on a trail but do feel comfortable cleaning it, report it to who over sees the park or reach out to your local outdoor club. If you are not sure who to reach out to, send me an email with the location and photos, I will find out who to report it to.
Lastly, Get involved with the New York New Jersey Trail Conference or your local outdoor club. Most trails are maintained by these volunteer organizations.

Know Where You Are Going: How to Read Trail Markers

A few weeks ago, I went for a hike at the Delaware Water Gap National Recreational area. It was a beautiful day and I was expecting the park to be busier then it was. The trail that I was hiking was not long, about 1.5 miles when you would hit a junction with another trail that would lead you to the Appalachian Trail. It was not until I was just below the junction that I encountered my first fellow hikers.
The first couple that I passed were heading down the trail I just came up. I stepped off the trail to let them pass and they came across as experienced hikers. We said “hi” to each other and went on our ways. When I reached the top of the trail, I sat on a stump drinking some water when a woman with her child came up one of the other trails. They stopped and the woman pulled out her phone, I assume she was using her phone to navigate. Watching her, I can tell she could not get a signal, and she and her daughter kept looking at the different trails and spinning in circles. I asked them what trail they were looking for but got no response. At that point I was getting ready to head back down to my car, I quickly told them where the different trails headed to and set off.
As I started down the trail to the parking area, I quickly came upon the first couple that I passed. They were standing in the middle of the trail looking at their phone, from what I can tell, not having any success getting a signal. I asked where they were headed and all they responded with was, “ back to our car”. I told them where the trail we were on headed to and passed them. When I got back to my car, I was the only vehicle in the parking lot.
As I started to head out of the park, I started to think about both groups and how they were both relying on technology to navigate.
After being stuck at home for 3 months, more and more people are venturing out to our national parks and state parks. Hiking is a great way to see and to connect with nature but we need to be safe and smart about it. One of the most important skills is knowing how to navigate trails and how to understand the information you get from trail markers.
When it comes to trail markers, there are 6 common types, of these from my personal experience, 3 are very common. Here is the list of all 6 in the order that I have experienced.
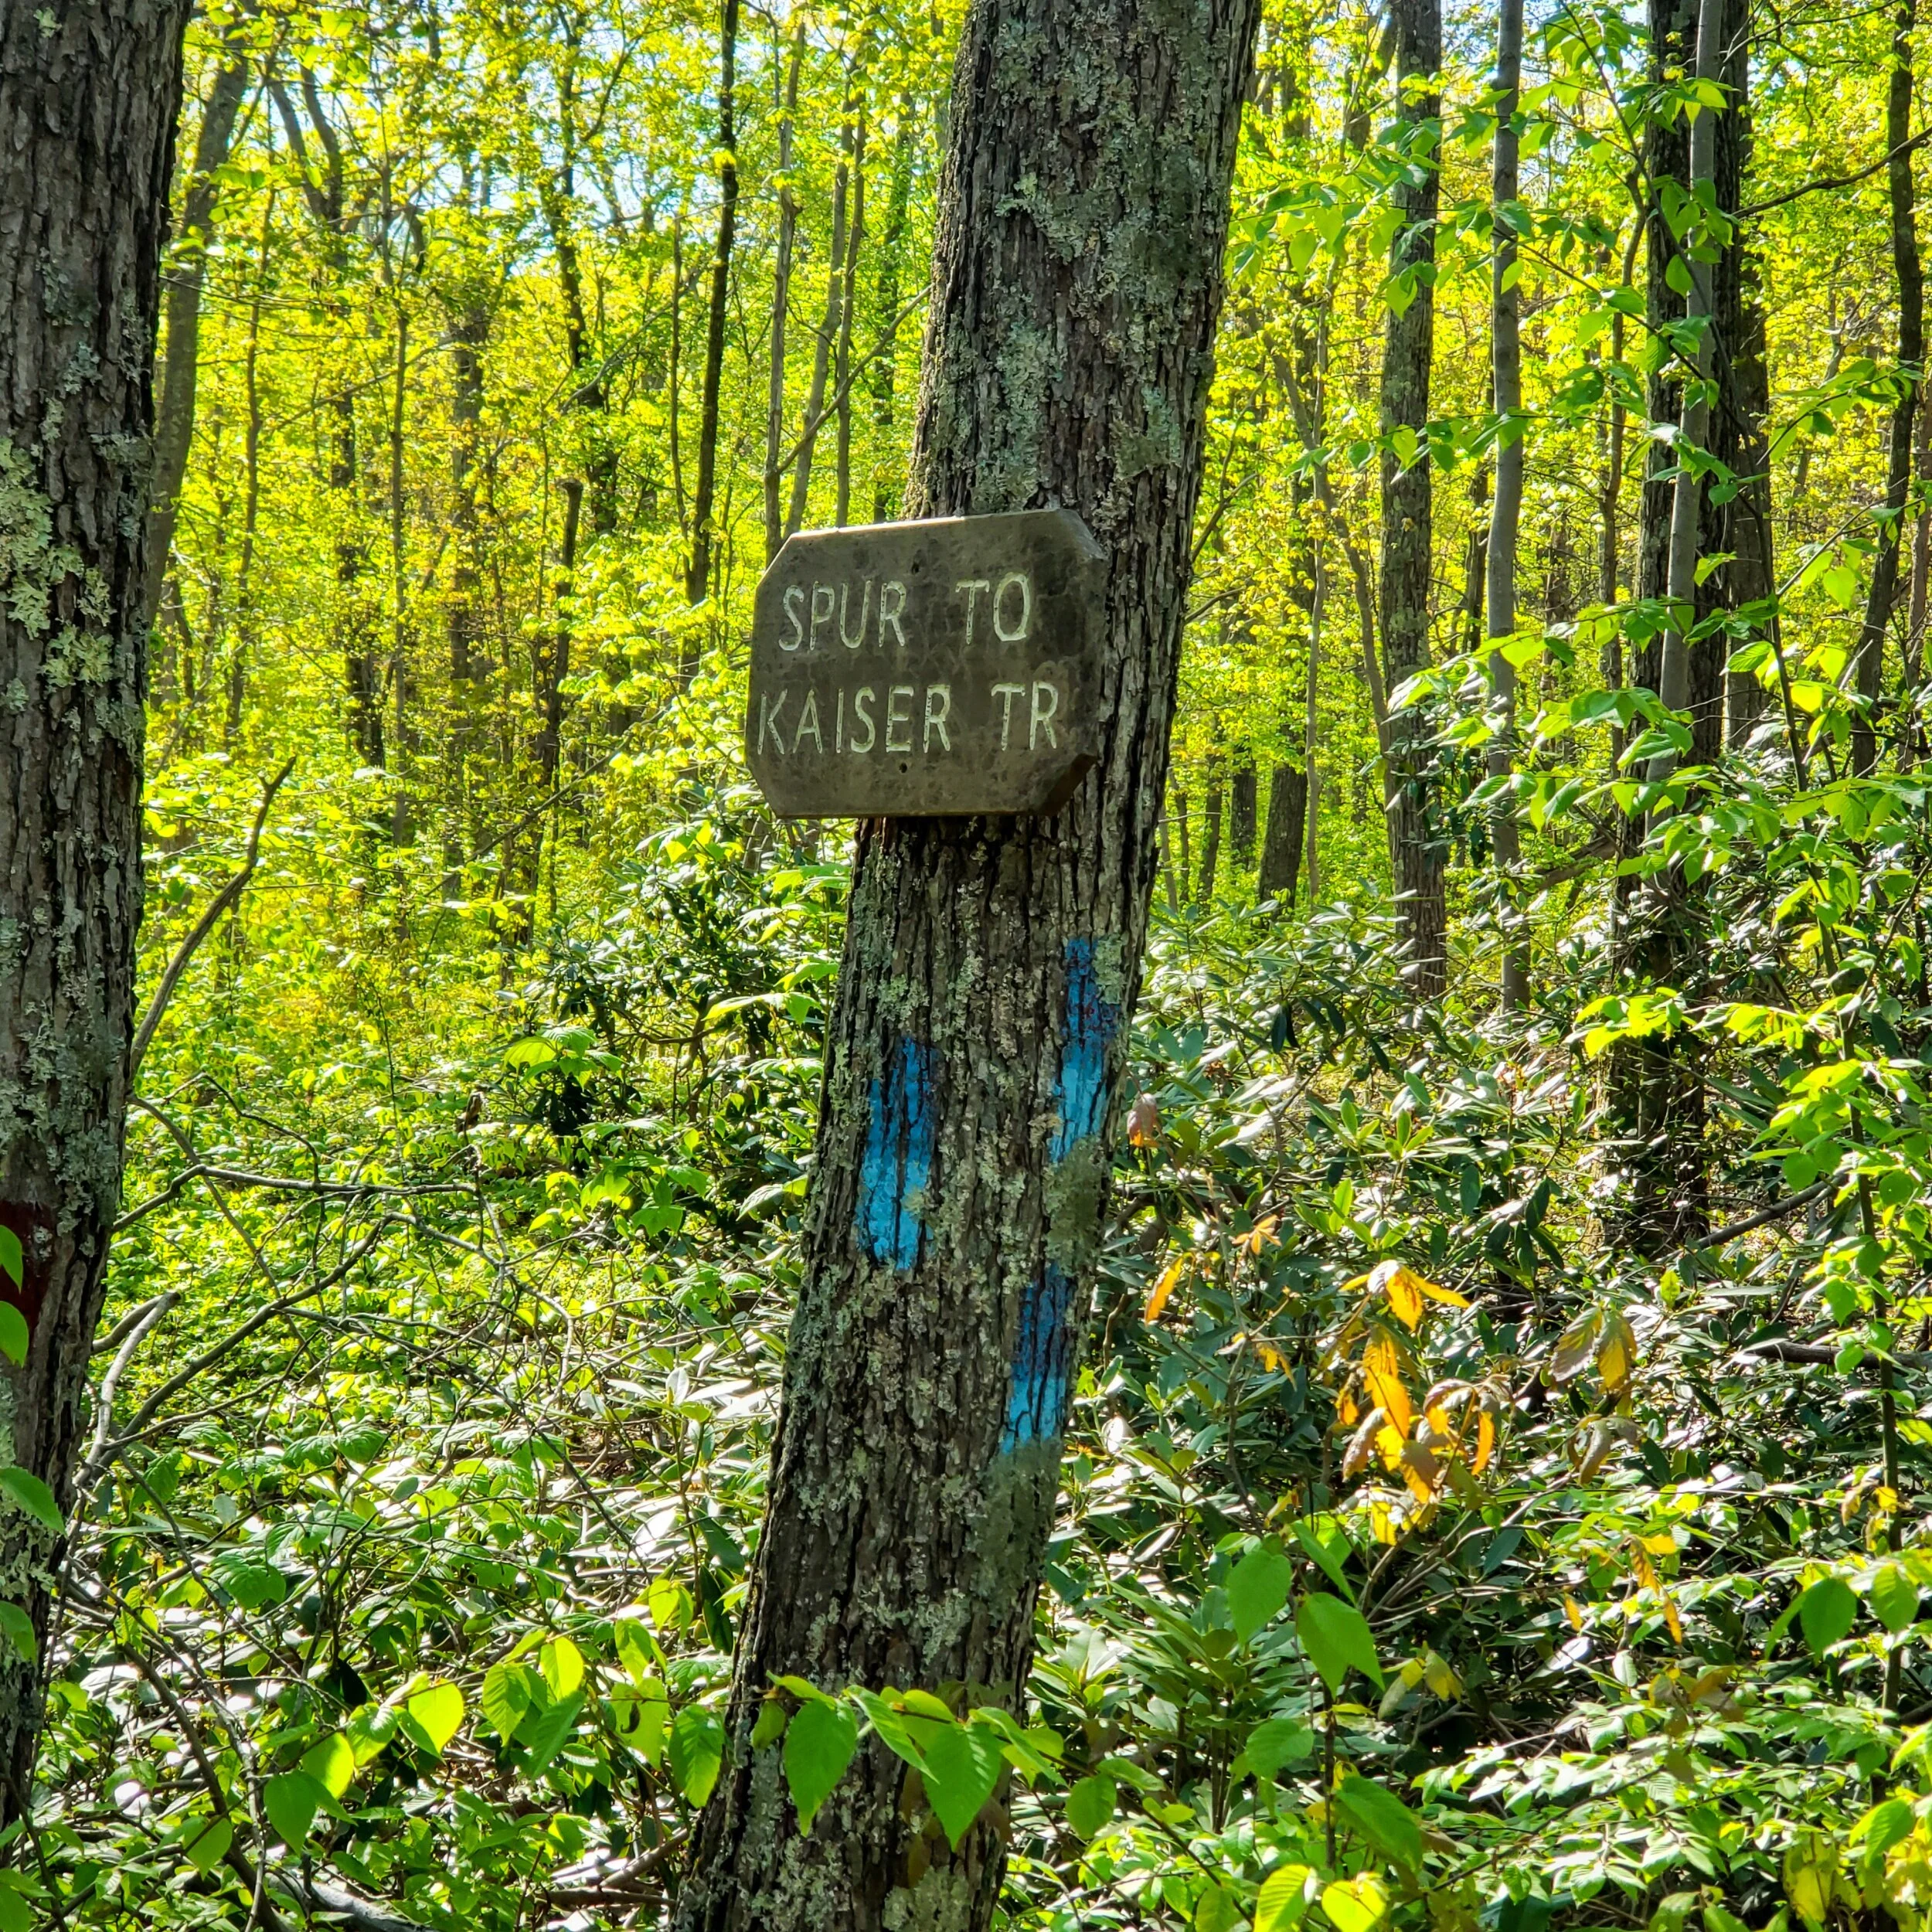
An example of both paint trail marker and a wood sign mounted to a tree.
Paint- I will say on the east coast paint is the most common. You will see them in everything from a town park up to our national parks. Placement of paint trail markers tends to be on a natural object like rocks and trees and is almost always in the shape of a simple rectangle.
Posts- These are wood signs that are engraved with important information. You tend to see them at trailheads and other key points along the trail. Some trails will also use posts as mile markers along the trails. If you have a good set of trail maps, some posts markers will be noted on the maps. This can give you an accurate location.
Markers- Markers are affixed signs that will be mounted to trees and other natural elements on the trail. They tend to be made out of plastic or metal. You tend to see markers on trails that have a name like the Patriots Path and northern NJ.

This is a example of a Marker trail marker. A plastic tag nailed to a tree.
Now we are getting into the less common trail markers
Flags- Flags will be marker tape that is tied around trees and other objects. I have only ever seen flags on a new trail that has not had the final markers attached. In areas that are open to hunting, I have seen flags that hunters use to mark the path to their hunting stands.
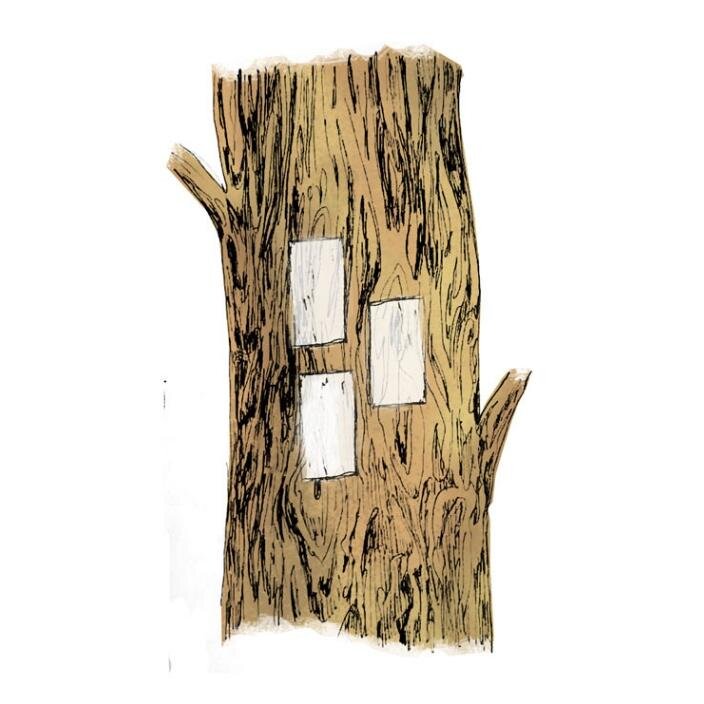
Etching- Etching is when the trail marker is etched into a tree. I personally have never seen this marker used.
Cairns- These are stacks of rocks that will stand out against the landscape. This is another type of trail maker I have never seen used.
You will find that most trail will use a combination of these markers. The two most common, paint and post will give you the most information. Posts are very clear and easy to understand as all of the information is engraved into the wood.
Paint markers have their own language, it is not hard to understand but you do need to be a little more observant to the markers. Observing the placement and color of the rectangles will tell you where to go as well as where you are.
The first part is to understand the color or blaze that represents the different trails. One of the most famous is the Appalachian Trail (AT) which is always a simple white rectangle. When you are hiking in the Delaware Water Gap on the Mt. Tammany trail, you will see a white rectangle with a red dot in the center, this is known as the red dot trail. Both the AT and Mt. Tammany trail passes through the same parking lot so it is important to know the difference and what color represents your trail. I have been on the red dot trail and ran into hikers who thought they were on the AT.
Knowing what color marker to look for will help guide you, but now you need to know what the different marker configurations mean.

Trailhead or Start of the trail

Trails End

Stright

Turn Right

Turn Left
Intersection
Along with having an understanding of trail markers, there are a few other steps you can take to keep on track.
Get a set of quality trail maps that are up to date. If you are in the New York Tri-State area, the New York/ New Jersey Trail Conference is a great resource for maps and other trail information. Most parks will have a basic trail map available at the park office or at the trailhead. These maps tend to be extremely simple and basic. If you are going to use your phone to navigate, make sure you download the maps to your phone. In a lot of backcountry areas, you will not have cell phone reception. The Delaware Water Gap is located under 2 hours from New York City and in most of the park cell phones will not work.
Be sure you know what the markers look like for the trail you are hiking. I have seen trails where two trails come together so a tree might have a blue and red marker located on it. Be aware of this and if you come across this be extra aware of sighting markers.
I always look well ahead for the next marker so I have an idea as to where I am going. This is very important on trails that are not very clear in the landscape. One example is the red and white trail in the Delaware Water Gap. The trail goes through a very large boulder field and without the trail markers it is easy to get lost.
Markers are not always on trees, they can be a self-standing post, painted on rocks on the ground, or even attached to road signs at road crossings. Be aware and look around.
The last tip and sometimes this is very hard to do is if you have not seen a marker in a while, stop. Turn around and see if you see any markers for your trail going the other way. If you don’t, backtrack a little until you do come across a trail marker.
I love it when people get out to explore and to enjoy nature but we need to be safe about it. I have spent over 20 years working in the outdoor industry as an outfitter and as a guide. If you have any questions please reach out to me.
Added Note 10/13/2020
As I was looking at a trail map for a local State Park (Hacklebarney State Park) I was happy to see in the bottom right corner of the map, is a key to how to read trail markers.